Ultimate Guide: How to Film a Music Video on a Budget
Creating a music video is an exciting step for any artist looking to showcase their music and reach a broader audience. However, not every musician has the budget to produce extravagant visuals. Fortunately, with some creativity and planning, you can produce a compelling music video without breaking the bank. This article will guide you through various tips and strategies for filming a music video on a budget. From planning your concept to choosing the right equipment and finding cost-effective locations, we’ll explore how to make the most of limited resources while still delivering a video that captivates and resonates with your audience. Whether you’re a solo artist or part of a band, these insights will help you navigate the video production process and achieve professional results with a modest budget.
How to Film a Music Video on a Budget
Filming a music video on a budget requires creativity, flexibility, and strategic planning. The challenge is to maximize every dollar while capturing your artistic vision. Here are several steps and strategies that can help you produce a visually appealing music video without overspending:
1. Develop a Clear Concept: Start with a solid concept that fits your song’s theme and your artistic brand. A clear vision helps you avoid costly improvisation and unnecessary expenditures. Brainstorm ideas that can be executed with minimal resources but still tell a compelling story or convey the song’s emotion effectively.
2. Plan Meticulously: Every minute of shooting will cost money, so detailed planning is crucial. Break down your concept into a shot list and storyboard. Plan your shots around the resources you have available. Consider the locations, actors (if any), props, and costumes you’ll need, and think about how to use them creatively to support your story.
3. Use What You Have: Before renting or buying equipment, review what is available to you for free. Maybe you or someone you know has a decent camera, lights, or other necessary gear. Utilize your smartphone if it has a good camera; many modern smartphones can shoot in high quality and even 4K. Use natural lighting to your advantage to save on lighting equipment.
4. Choose Cost-Effective Locations: Location fees can quickly blow up your budget. Opt for public places that allow filming without a permit, or use personal spaces like homes, garages, or backyards. Always ensure you have the necessary permissions to avoid legal issues.
5. Limit Locations: Try to keep the number of locations to a minimum. Each new location might mean additional travel, time, and permit costs. Shooting in fewer locations allows more time to perfect your shots and reduces logistical expenses.
6. DIY Props and Costumes: Instead of purchasing or renting props and costumes, see what you can create or borrow. You’d be surprised how effective DIY solutions can be when put together creatively. This not only saves money but also adds a unique touch to your video.
7. Enlist Help from Friends and Volunteers: Instead of hiring a full professional crew, ask friends or film students who might be willing to help for experience or a smaller fee. People you know might be interested in participating as extras, helping with makeup, or assisting with the setup.
8. Efficient Shooting Schedule: Organize your shooting schedule to make the most out of each day. Plan to shoot scenes in the order of location or setup to minimize downtime and reduce rental costs. Being efficient with time is crucial when working with volunteers or rented equipment.
9. Edit Yourself: If you have some editing skills, consider doing the post-production yourself. There are several affordable editing software options that can do the job without needing a professional editor. Learning to edit might take some time, but it’s a valuable skill that will save you money in the long run.
10. Seek Sponsorships or Partnerships: If your music video has the potential for wider exposure, local businesses or brands might be interested in being featured in your video. In exchange for free locations, props, or costumes, you can offer to include their products or logos in your video.
Finding and Hiring a Filmmaker
When you’re working on a budget, finding and hiring the right filmmaker for your music video can seem daunting. However, with the right approach, you can secure a talented videographer who understands your vision and can work within your financial constraints. Here are some strategies to help you find and hire a filmmaker effectively:
1. Define Your Needs and Budget: Before you start your search, clearly define what you need from a filmmaker. Consider the style of video you want, the technical requirements, and the level of experience desired. Also, be clear about your budget. Knowing your limits will help you communicate more effectively with potential candidates and filter out those whose rates are beyond your reach.
2. Utilize Your Network: Start by asking within your own network. Other musicians, industry contacts, or friends might know filmmakers who are looking to build their portfolios and might offer competitive rates. Recommendations can lead you to trustworthy professionals who have already proven their skills.
3. Explore Local Film Schools: Contact local universities or film schools where students might be interested in taking on projects for experience, course credit, or a small fee. Film students are often eager to showcase their creativity and gain real-world experience, and they might have access to their own equipment, which can save you rental costs.
4. Online Platforms and Social Media: Use online platforms such as LinkedIn, Vimeo, Behance, and even Instagram to find filmmakers. Many professionals and up-and-coming directors showcase their portfolios on these platforms. You can also post on these sites that you are looking for a filmmaker, specifying your budget and project details.
5. Review Work Samples: Once you find a few potential filmmakers, ask to see their previous work. This will give you an idea of their style and quality. Look for videos that align with what you envision for your music video. It’s important that their technical skills and creative style resonate with your project’s needs.
6. Conduct Interviews: Interview potential filmmakers either in person or via a video call. This allows you to discuss your vision, understand their creative process, and see if there’s good personal and professional chemistry. Good communication and a shared vision are crucial for a successful collaboration.
7. Discuss Equipment and Crew: Inquire about what equipment they can bring to the project and whether they have a regular crew they work with. Some filmmakers might include these as part of their package, which can further reduce costs. Understanding what they provide can help you assess any additional rentals you might need.
8. Negotiate a Clear Contract: Once you decide on a filmmaker, make sure to draft a clear contract that outlines every aspect of the project, including payment terms, timeline, deliverables, and copyright agreements. This helps prevent misunderstandings and ensures both parties are clear about their responsibilities.
9. Plan for Flexibility: Be open to creative suggestions from your filmmaker that might help stretch your budget further. They might have insights on how to achieve certain effects more economically or suggest changes that could save money without compromising the artistic integrity of your video.
10. Build a Partnership: Consider this an opportunity to build a long-term relationship. If the filmmaker does a great job, they could become a go-to resource for future projects. A strong partnership can lead to better deals and smoother production processes down the line.
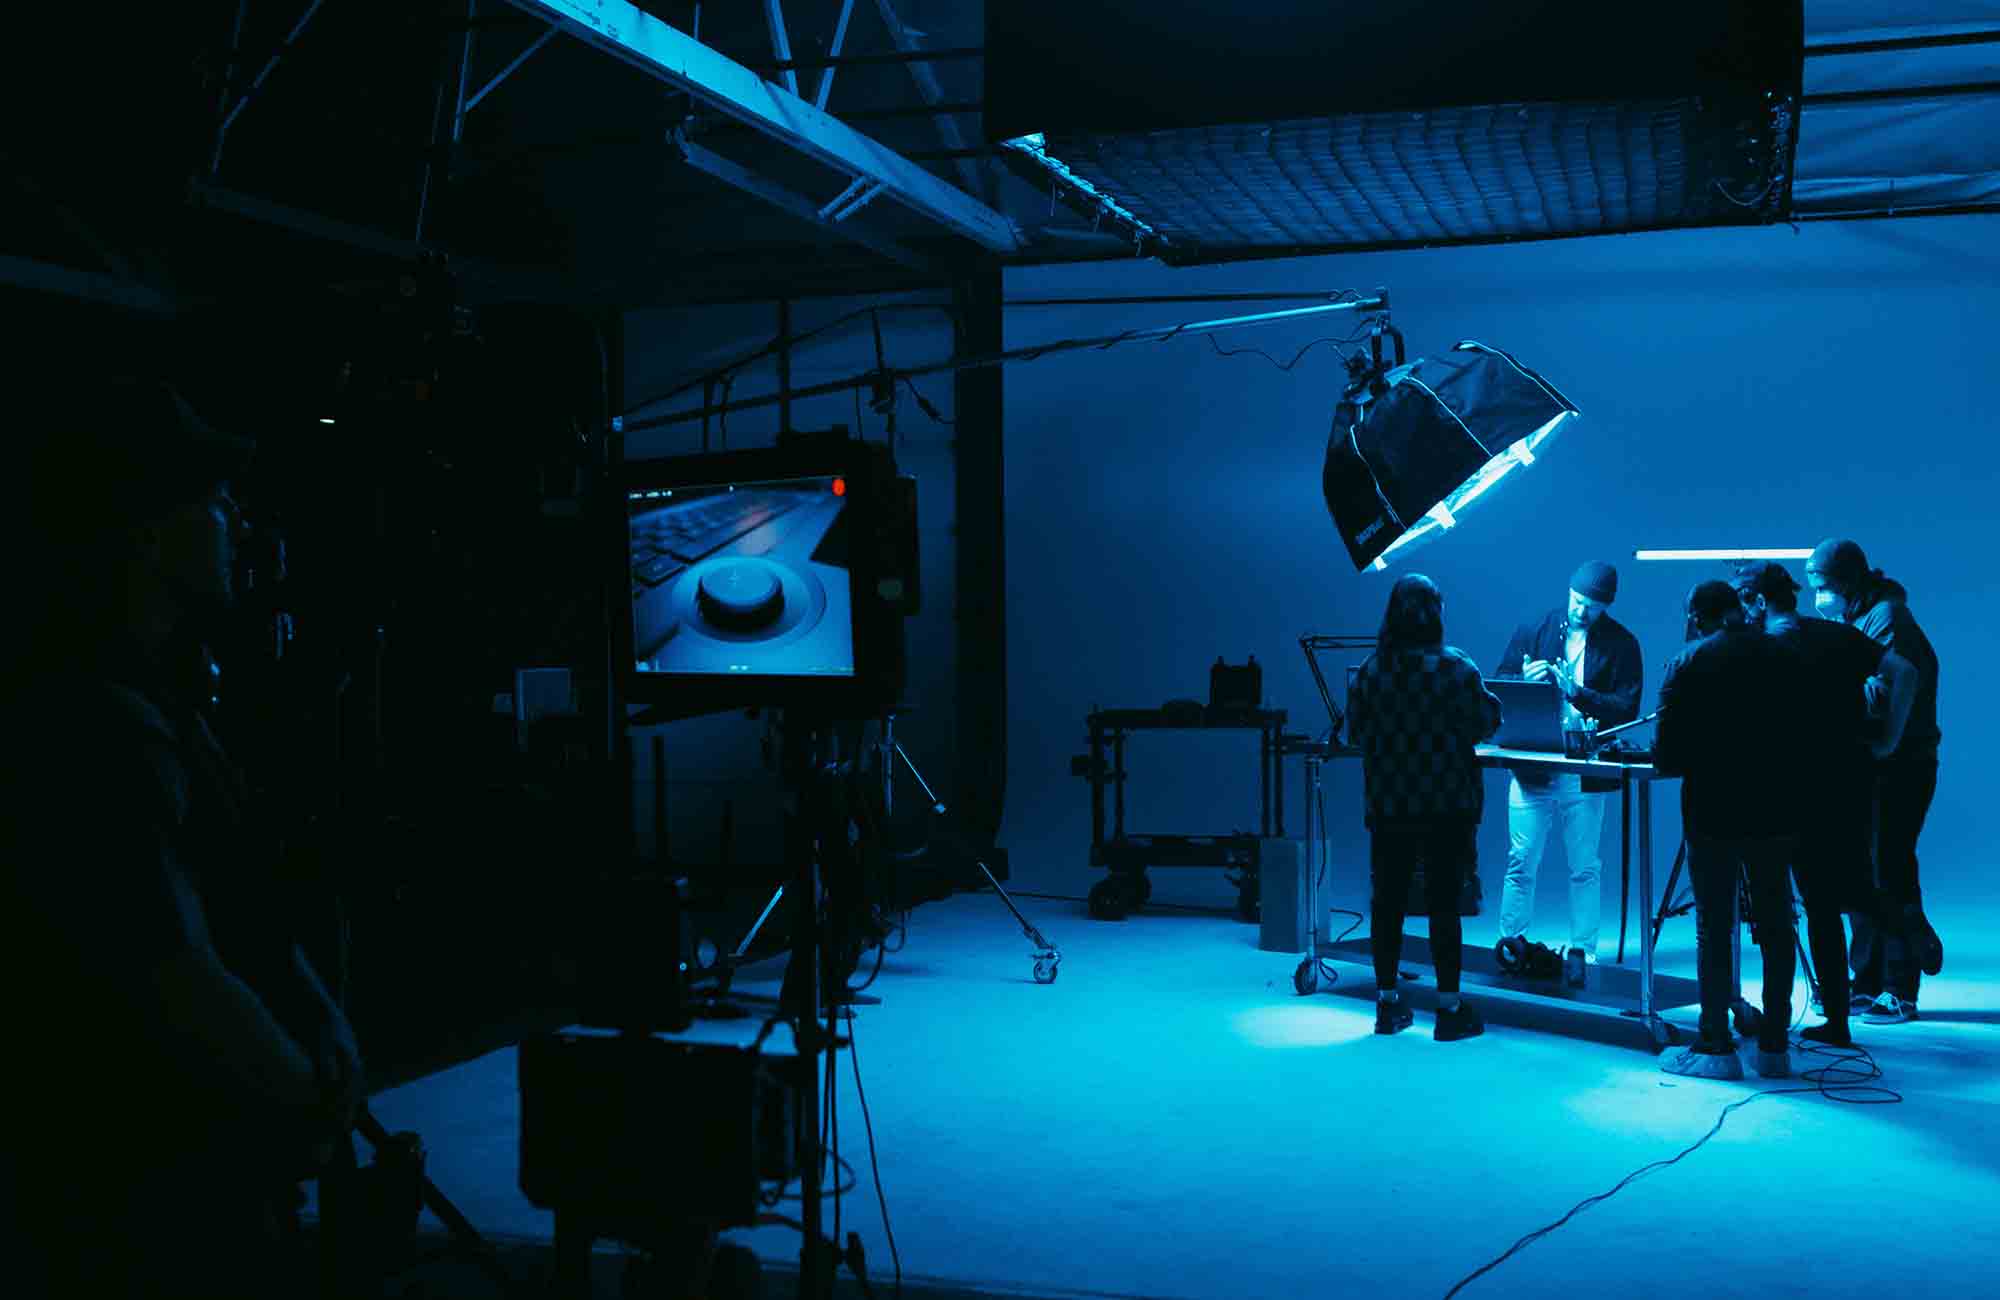
Filming the Music Video Yourself
For many independent artists, the budget might not stretch far enough to hire a filmmaker. In such cases, taking the DIY route can be a viable and rewarding option. Filming the music video yourself not only cuts costs but also gives you complete creative control over your project. Here are detailed steps and tips to help you successfully film your own music video:
1. Educate Yourself:
Before you begin, spend some time learning about video production. There are numerous free and paid online resources that can teach you the basics of cinematography, lighting, and editing. Platforms like YouTube, Skillshare, and Coursera offer tutorials that range from beginner to advanced techniques.
2. Plan Thoroughly:
Create a detailed storyboard and shot list. Planning each shot meticulously can save you time and frustration during the filming process. Consider the storyline, angles, lighting, and transitions you want to incorporate. This plan will serve as your roadmap during the shooting process.
3. Gather Equipment:
Assess what equipment you need and what you already have. You can use a smartphone with a high-quality camera to shoot your video if a professional camera is out of reach. Invest in a good tripod to stabilize your shots, and consider renting or borrowing additional gear like microphones, lights, and lenses from friends or local rental services.
4. Choose the Right Location:
Select locations that are accessible and free to use. Public parks, streets, or rooms in your own home can be transformed into the perfect backdrop with a bit of creativity. Always check for any permits you might need to film in public spaces to avoid legal issues.
5. Utilize Natural Light:
Make the most of natural light to achieve a high-quality look without expensive lighting equipment. Plan to shoot during the golden hour (the first hour after sunrise or the last hour before sunset) for beautifully lit scenes. Reflectors — which can be homemade using simple materials like aluminum foil and cardboard — can help you manipulate natural light effectively.
6. Enlist Help:
Gather a small team of friends or family to assist with various aspects of the shoot. Having extra hands on set can help with everything from managing equipment to directing scenes and controlling crowds.
7. Shoot with Editing in Mind:
When filming, always consider how shots will fit together in the editing suite. Capture plenty of B-roll footage to give yourself options when you’re piecing the video together. This extra footage can help smooth transitions and add visual interest to your final product.
8. Keep it Simple:
With limited resources, it’s wise to keep your concept simple but effective. Focus on telling a clear story or capturing emotive performances. Sometimes, a simple performance in an interesting location with the right angles and good lighting can be more impactful than a complex narrative.
9. Edit the Video:
Editing can be done using affordable software like Adobe Premiere Pro, Final Cut Pro, or even free programs like DaVinci Resolve. Take your time to learn the basics of editing, and experiment with different cuts, transitions, and effects to find the best way to tell your story visually.
10. Seek Feedback:
Once you have a rough cut, show it to people whose opinions you trust. Feedback can be invaluable in spotting issues that you might have missed and enhancing the overall quality of the final video.
11. Finalize and Optimize:
After incorporating feedback, finalize your video and optimize it for various platforms. Different social media sites may have specific requirements for video formats and lengths, so ensure your final product is adjusted for each platform you plan to use.
Choosing Between Performance and Story Videos
When planning a music video, one of the fundamental decisions you need to make is whether to focus on a performance-based video or a story-driven video. Each type has its own strengths and appeals to different aspects of the music and the audience’s expectations. Understanding the differences and advantages of each can help you decide which style best suits your song, message, and budget.
Performance Videos:
Performance videos primarily feature the artist performing the song. These can range from simple, intimate settings like a home studio to elaborate stage setups. Here’s why you might choose a performance video:
-
- Direct Engagement: Performance videos allow artists to connect directly with their audience, making it about the music and the performance itself. It’s an effective way to showcase your energy and charisma as an artist.
- Simpler Production: Generally, these videos are less complex to shoot than narrative videos. They require fewer locations, less scripting, and minimal actors or extras, which can make them more suitable for lower budgets.
-
- Highlight Musical Talent: For genres where musical skill is the forefront, such as jazz, classical, or virtuosic guitar music, a performance video can highlight your technical proficiency and stage presence.
Story Videos:
Story videos tell a narrative that complements or illustrates the song’s lyrics or themes. These videos can range from literal interpretations of the song’s lyrics to more abstract, thematic explorations. Reasons to opt for a story video include:
-
- Emotional Depth: Story videos can add layers of meaning to your song, potentially giving your audience a deeper emotional connection to the music.
- Visual Creativity: If you have a vivid visual concept that aligns with your music, a story video can be a fantastic way to express it. This type of video allows for more artistic and creative exploration.
- Broader Appeal: Story videos can attract viewers who are more interested in the narrative aspect, expanding your audience beyond people who are solely fans of your music genre.
Considerations for Choosing Between the Two:
-
- Song Content: Consider what the song is about. Does it tell a story, or is it more focused on emotions, moods, or abstract themes? Performance videos can be compelling for songs that focus on musicality and vocal prowess, whereas story videos might be better for songs with strong narratives or messages.
- Budget Constraints: Narrative videos often require more varied locations, actors, costumes, and possibly special effects, which can increase the budget. If your resources are limited, a creatively filmed performance video might be more feasible.
- Target Audience: Think about your fan base and the broader audience you want to reach. Younger audiences might prefer dynamic story videos with strong visual elements, while a dedicated fan base might appreciate a more personal, performance-focused approach.
- Artistic Goals: Reflect on what you want to achieve with the video. Are you looking to showcase yourself as a live artist, or do you want to create a piece of art that tells a story or conveys a message.
- Reusability: Performance clips can be reused in multiple ways, such as live show visuals, promotional clips, or social media content. Story clips are less versatile but can make more impactful promotional pieces for the narrative they tell.
Deciding whether to produce a performance video or a story video involves balancing artistic vision, practical considerations, and the intended message of your music. Each type offers unique benefits and can be highly effective in different contexts. By carefully considering these factors, you can choose the video style that will best complement your music and resonate with your audience.
Legal Considerations
When embarking on the creation of a music video, it’s crucial to navigate the legal landscape carefully to avoid potential pitfalls that could derail your project or lead to costly litigation. Here are key legal considerations every musician and filmmaker should address before, during, and after the production process:
1. Copyrights and Music Licensing:
-
- Music Rights: Ensure you have the right to use the song itself, especially if you are not the original artist. This typically involves securing synchronization and master use licenses from the copyright owner or music publisher.
- Cover Songs: If you are filming a video for a cover song, you need to obtain a mechanical license for the audio recording and a synchronization license for pairing the music with your video.
2. Location Releases:
-
- Public vs. Private Property: Understand the distinction between public and private properties. While filming in public spaces often requires less legal groundwork, shooting on private property always necessitates the owner’s explicit permission.
- Permits: Even for public locations, check with local authorities about the need for permits. Failing to secure the necessary permits can result in fines or being shut down during shooting.
3. Talent Releases:
-
- Actors and Extras: Have everyone appearing in your video sign a release form. This document should grant you the right to use their image, voice, and performance commercially in your video without future compensation.
- Minors: If children under the age of 18 are involved, their legal guardians must sign the release forms. Ensure these are stored safely as they may be needed to prove consent in the future.
4. Intellectual Property Considerations:
-
- Visual Art and Logos: Avoid using copyrighted logos, artworks, or other intellectual property without permission. This includes everything from posters in the background to branded clothing. If it’s essential to your video, seek clearance from the copyright holder.
- Copyright Clearance: For any pre-existing video clips, written materials, or other multimedia elements you wish to incorporate, ensure you have the appropriate licenses to use them.
5. Contracts and Agreements:
-
- Collaboration Agreements: If you’re working with other creatives such as directors, choreographers, or other musicians, formalize the arrangement with a contract. This should outline each party’s roles, responsibilities, and share of any profits.
- Work-for-Hire Agreements: If you hire professionals to work on your video, such as videographers or editors, establish whether they are considered employees or independent contractors. Work-for-hire agreements can be useful to clearly state that all creative outputs are owned by you, the commissioner.
6. Insurance:
-
- Liability Insurance: Consider purchasing liability insurance to protect against potential accidents during shooting. This can cover property damage, injuries, or other liabilities that could incur substantial costs.
- Equipment Insurance: If you’re renting high-value equipment, insurance can safeguard against damage or theft, which could otherwise be financially devastating.
7. Understanding Fair Use:
-
- Educational and Commentary Use: Fair use is a complex area and often misunderstood. It generally applies to uses such as education, news reporting, and commentary. However, relying on fair use when creating a music video can be legally risky and is not recommended without consulting a legal expert.
By addressing these legal considerations, you can ensure that your music video production proceeds smoothly and remains compliant with applicable laws and regulations. Always consider consulting with an entertainment lawyer to navigate complex legal matters and ensure that all necessary legal protections are in place. This proactive approach not only secures your creative output but also protects you from potential legal disputes in the future.
Promotional Strategies Post-Release:
Once your music video is released, the focus shifts to maximizing its reach and impact. Effective post-release promotional strategies are crucial to ensure your video doesn’t just launch successfully but continues to attract viewers and drive engagement over time. Here are several key strategies to consider:
1. Leverage Social Media Platforms:
- Share Across All Channels: Use every social media platform at your disposal (Instagram, Twitter, Facebook, TikTok) to share your music video. Tailor your posts for each platform to maximize engagement, using platform-specific features like Instagram Stories, Twitter threads, or TikTok challenges.
- Use Paid Social Media Advertising: Invest in targeted ads to reach a broader or more specific audience. Platforms like Facebook and Instagram offer sophisticated targeting options that can help you reach potential fans based on interests, demographics, and behaviors.
2. Engage with Your Audience:
- Respond to Comments and Messages: Make an effort to engage personally with viewers who comment on your video or reach out via social media. This can help build a loyal fan base and encourage more engagement from others.
- Host Live Sessions: Use platforms like Instagram Live or Facebook Live to talk about the video, the inspiration behind it, and answer questions from fans. This personal interaction can significantly boost viewer engagement and attachment to your artistic brand.
- Send Out an Announcement: If you have an email list, send out a blast to your subscribers with a link to the video. Include a personal message about what this release means to you.
- Offer Exclusive Content: Provide additional value to your email subscribers, such as behind-the-scenes content, making-of videos, or early access to future releases.
4. Collaborate with Bloggers and Influencers:
- Reach Out for Features: Contact music bloggers and influencers who might be interested in featuring your video. Provide them with a unique story angle about your video to increase your chances of getting featured.
- Collaborate for Content: Work with influencers or other artists to create content that includes your music video, such as reaction videos, covers, or dance routines.
5. Submit to Music Video Festivals:
- Research Festivals: Look for music video festivals and competitions where you can submit your work. Being featured in a festival can significantly increase your video’s visibility and credibility.
- Consider Online Festivals: With the rise of digital events, don’t overlook online festivals which can reach global audiences and may be more accessible.
6. Optimize for SEO:
- Keywords in Video Title and Description: Make sure your video’s title and description are optimized for search engines. Include relevant keywords that potential fans might use to find music like yours.
- Create a Video Sitemap: If the video is hosted on your website, create a video sitemap and submit it to search engines to help improve your video’s SEO.
7. Refresh Your Content:
- Create Related Content: Produce and share content related to your music video, like acoustic versions of the song, remix contests, or fan video compilations. This can keep your audience engaged and draw attention back to the original video.
- Update Your Video’s Thumbnail: Occasionally updating the thumbnail can renew interest and attract clicks from users who might have scrolled past it before.
8. Monitor Performance and Adapt Strategies:
- Track Analytics: Use analytics tools to monitor how your video is performing across different platforms. Look at metrics like view count, likes, shares, and comments.
- Adapt Based on Feedback: Be ready to tweak your strategy based on what works. If certain types of posts or promotions are generating more engagement, focus your efforts in those areas.
Effective post-release promotion is about maintaining the momentum of your release and finding new ways to connect with audiences. By continuously engaging with fans and exploring new promotional avenues, you can extend the life of your music video and maximize its impact in the crowded music industry landscape.
Post-Production Enhancements
After filming your music video, the post-production phase is where you can really polish your project and enhance its overall quality. This stage involves editing, adding effects, color grading, and optimizing the final product for distribution. Here are key enhancements and techniques to consider during post-production to ensure your music video stands out:
1. Editing for Cohesion and Pace:
- Tight Editing: Carefully review all your footage and choose clips that best convey your story or message. The editing process should aim to keep the viewer engaged from start to finish. Pay attention to the pacing—too slow can bore viewers, while too fast might leave them confused.
- Rhythm and Timing: Sync your cuts and transitions with the rhythm of the music. This can enhance the viewer’s experience and make the video more memorable.
2. Color Grading:
- Create a Mood: Color grading is essential for setting the tone and mood of your video. Choose a color scheme that fits the song’s theme and enhances the visual storytelling. For instance, a somber song might benefit from cooler, subdued tones, while a vibrant pop track could be enhanced with bright, saturated colors.
- Software Tools: Utilize software like DaVinci Resolve, which offers powerful color grading tools. There are also more accessible options like Adobe Premiere Pro and Final Cut Pro that can achieve professional results.
3. Visual Effects and Graphics:
- Enhance with Effects: Depending on your video’s concept, adding visual effects can enhance the narrative or artistic flair. This might include simple effects like speed ramps or more complex composites and overlays.
- Graphics and Text: Sometimes, integrating text or animated graphics can help communicate key messages or add a creative layer to your video. Ensure these elements are integrated seamlessly and do not distract from the main content.
4. Sound Design and Mixing:
- Enhance Audio Quality: Good sound design is crucial, especially if you recorded live audio during the shoot. Ensure all audio tracks are clean, clear, and well-balanced.
- Add Layers: Consider adding sound effects or ambient sounds to enhance certain scenes. This can elevate the production value and make the video more immersive.
5. Final Output and Formats:
- Optimize for Different Platforms: Render and export your video in various formats optimized for where it will be viewed—whether it’s YouTube, Instagram, or a big-screen event. Each platform may have specific requirements for aspect ratio, resolution, and codecs.
- Quality Control: Before finalizing the video, conduct a thorough review to check for any errors or technical issues. Watch the video on different devices and screens to ensure it looks and sounds good across all potential viewing scenarios.
6. Subtitles and Captions:
- Accessibility: Adding subtitles or captions can make your video more accessible to a wider audience, including those who are deaf or hard of hearing, as well as viewers who might watch without sound on social media.
- Translation: If you aim to reach an international audience, consider translating your captions into other languages. This can greatly increase your video’s accessibility and appeal globally.
7. Archiving and Backup:
- Save Your Work: Always keep backup copies of your raw footage, project files, and final outputs. This not only safeguards against data loss but also ensures you have the original files available for future use or re-edits.
By focusing on these post-production enhancements, you can significantly improve the quality and impact of your music video. Each element, from editing and color grading to sound design and final formatting, plays a crucial role in transforming your raw footage into a polished, professional piece that resonates with your audience.
Conclusion: Realizing Your Vision and Maximizing Impact
Creating a music video, even on a budget, is a powerful way to amplify your artistic expression and connect more deeply with your audience. By carefully navigating each stage of the production process—from pre-production planning through to post-production enhancements—you can produce a video that not only showcases your musical talent but also captures the essence of your artistic vision.
As we’ve explored, starting with a clear and creative concept is crucial. It sets the foundation for all subsequent decisions and ensures that every element of your video—from the storyline to the visual aesthetics—aligns cohesively with your overall artistic goals. Meticulous planning, resourcefulness, and strategic use of available assets enable you to optimize your budget without compromising on quality.
In the production phase, embracing a DIY ethos can be particularly empowering. It not only cuts costs but also gives you complete creative control, allowing you to experiment with various stylistic choices and narrative directions. Leveraging your network for support, choosing cost-effective locations, and employing simple but effective filming techniques can dramatically enhance the production value of your video.
The post-production phase is where your raw footage is transformed into a polished final product. Through careful editing, color grading, and sound design, you can elevate the emotional impact and visual appeal of your video. These enhancements are critical for engaging your audience and ensuring that your video stands out in the competitive landscape of digital media.
Finally, effective promotional strategies post-release are essential for ensuring that your music video reaches its intended audience and achieves its maximum potential impact. Leveraging social media, engaging directly with your fans, and utilizing various marketing tools can help sustain interest in your work and extend its reach beyond the initial release.
Creating a music video on a budget may require compromises, but it also opens up a realm of creative possibilities. It challenges you to think innovatively and work resourcefully, which can lead to uniquely compelling results that resonate with viewers and leave a lasting impression.
As you embark on this creative journey, remember that each music video is not just a promotional tool but a piece of art that reflects your passion and dedication to your craft. With the right approach, even the most budget-constrained projects can transform into visually stunning and emotionally captivating pieces that celebrate the spirit of your music and the essence of your artistic identity.
Browse Beats & Instrumentals
Check out my extensive catalog of more than 500 custom-made beats and instrumentals, available for free download or licensing.
No Comments